Why your C2TE-S1 stops working at 60×60
Large format tile adhesive: S1 or S2? What changes above 60×60, and the size rules India's IS 15477 and Spain's UNE 138002 write that EN 12004 never did.
Part of the Construction Chemicals hub — the parent category for every BBC cluster.
Tile adhesive application decides more failures than product choice ever does. A correctly applied class C1 — full coverage, double-buttered, no dabs — will outlast a premium C2 thrown down in five dabs on the corners in the great majority of real installations. The bag matters; the hands that empty it matter more.
That said, good application is not a licence to under-specify. The standards are explicit about which adhesive belongs on which tile, the manufacturers have tested every case, and — in Spain and across Europe — there is normative guidance that settles the question. A 30 × 30 cm ceramic on a sound interior wall genuinely calls for a C1; reaching for a C2 there is money spent on nothing. But a 90 × 90 cm porcelain slab on a wall, a façade or a heated floor calls for a deformable adhesive such as C2TE-S1, one that can absorb the thermal and moisture movement a large rigid tile imposes. Specify for the tile you are laying; do not assume the worst practice and buy down to it. This pillar covers the three moments of tile adhesive application: before the trowel, during the trowel, and after.
Tile adhesive application is a short, unforgiving sequence: prepare and dampen the substrate, comb the adhesive to an even ribbed bed, place and press the tile to collapse the ribs into full contact, adjust it to line and level, and leave it to cure undisturbed. Each step has a window, and the windows are governed by chemistry, not by the tiler's schedule.
There are, in fact, four chemical clocks running from the moment water hits the powder: pot life (how long the mixed bucket stays usable), open time (how long the combed bed can still bond a tile), adjustment time (how long a placed tile can still be nudged into position), and setting time (when the cement hardens for good). They are not the same clock, and confusing them is one of the most expensive mistakes on site. The property that lets the paste flow under the trowel and then hold the tile still is explained in full in the edition on thixotropy — the cream effect.
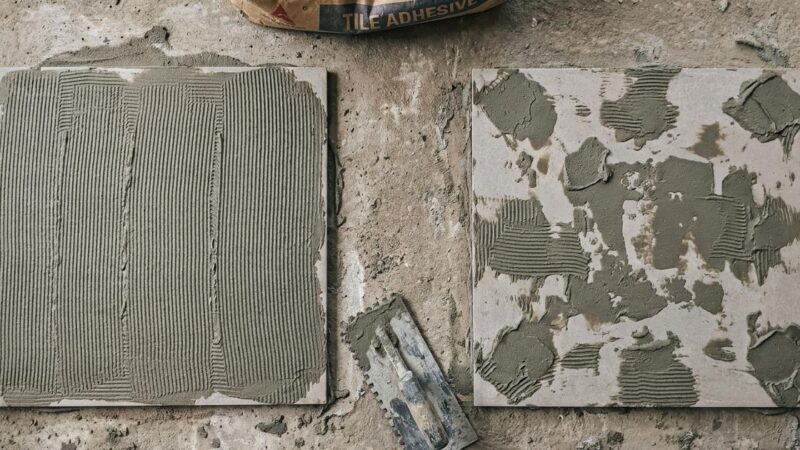
Single buttering — combing the substrate only — works up to roughly a 30 × 30 cm tile on a flat, dry interior surface. Above that size, or on any irregular substrate, the geometry of the notch can no longer guarantee that the ribs collapse into a solid bed, and voids are left under the tile. The fix is double buttering: combed adhesive on the substrate plus a skim burned into the back of the tile. It is the only technique that reliably delivers the coverage every international installation code demands above the size threshold, as decoded in the tile-size threshold for double buttering. That threshold comes from installation codes, not from the adhesive standards: EN 12004-1 only defines the floating and buttering method (3.3.3), and IS 15477 sets contact targets of 85 % and 95 % in its foreword. Spain's installation standard, UNE 138002:2023, goes further and ties the adhesive class to the tile's longest side, as covered in why C2TE-S1 falls short on large format.
The coverage numbers are explicit and they converge across countries. The TCNA Handbook and ANSI A108.5 require a minimum of 80 % contact for ceramic and porcelain in dry interior areas and 95 % with no significant voids for wet areas and all natural stone; the British BS 5385 series requires solid bedding above the same tile-size and weight thresholds, having removed the old 50 % allowance in its 2018 revision.
Coverage is not a bureaucratic percentage — it is a structural one. Every void left in the bed is a fragile point. On a floor, a void beneath an expensive porcelain tile is exactly where the tile cracks when a heavy object is dropped in the home, because the unsupported span has nothing behind it. On a façade, the same void collects moisture from condensation, and freeze–thaw or simple loss of bond eventually drops the tile off the wall. The percentage is a proxy for how much of the tile is actually carried — and how much is just waiting to fail.
Thixotropy is the reversible, time-dependent fall in a paste's viscosity under shear, with recovery on rest. Under the trowel and the tiler's press the adhesive thins and spreads; the instant the force stops, its structure rebuilds in seconds and holds the tile in place. That single property is what stops a wall tile sliding down onto the row below before the bond has developed.
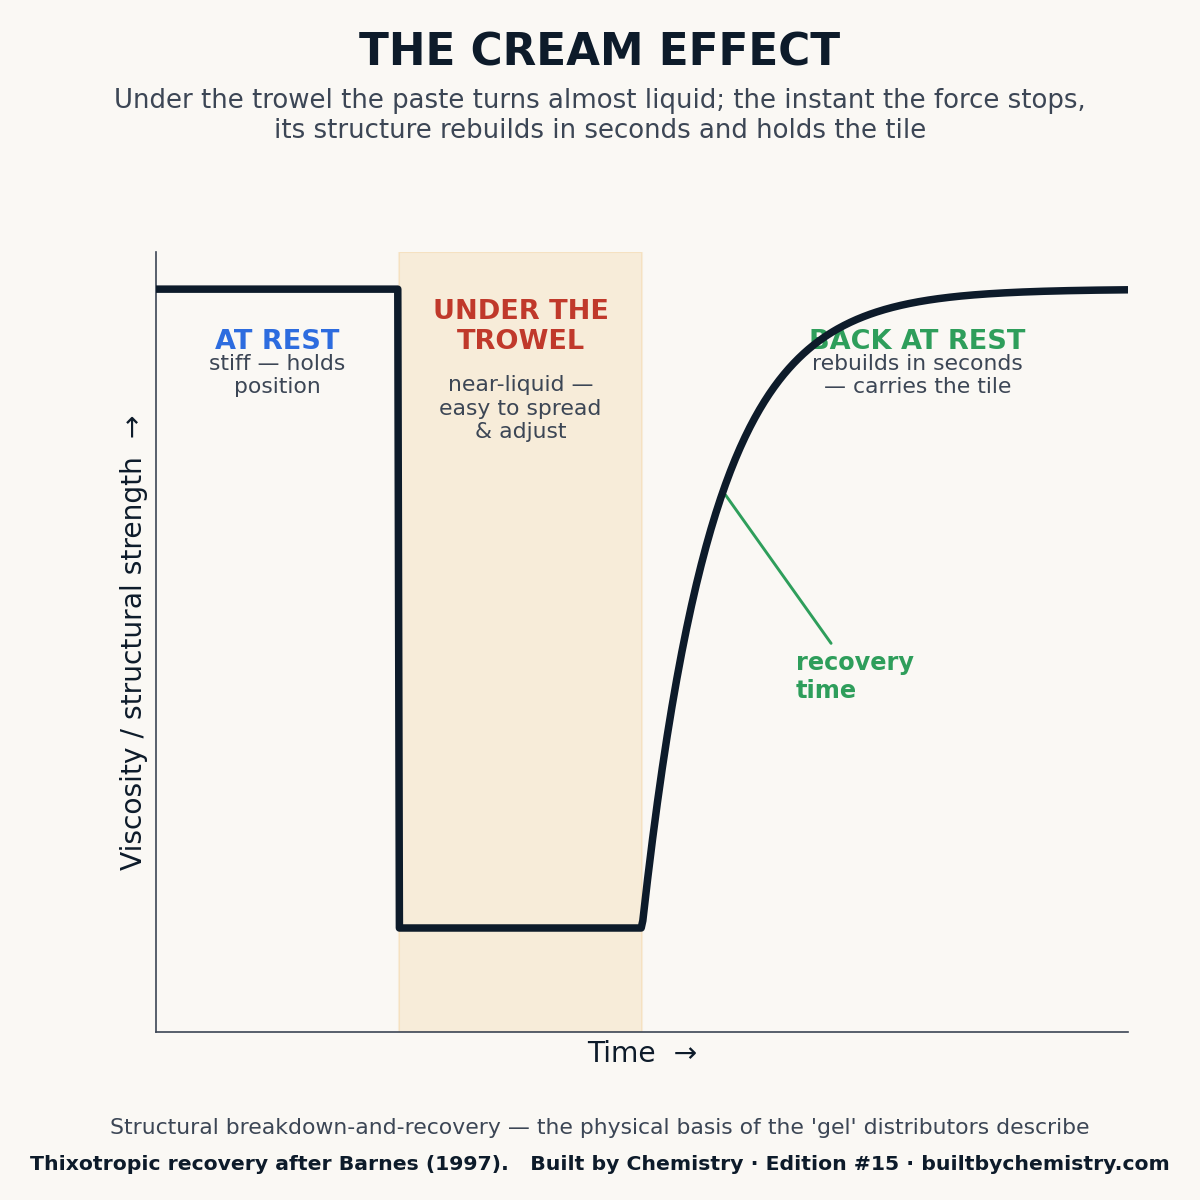
It is also quantifiable. A wall tile imposes a downward shear stress on the fresh adhesive of τ = ρ · g · t — density times gravity times thickness — which, verified by calculation, runs from about 112 Pa for a light 6 mm ceramic to about 530 Pa for a 20 mm stone slab, and rises further where coverage is partial. The adhesive's static yield stress at rest has to clear that number or the tile creeps. The physics, the history and the slip test are laid out in thixotropy in tile adhesives — slip, sag and the trowel.
And, like everything else in the bag, it moves with temperature. The cellulose ethers that build the stand-up body thicken more strongly as the mercury climbs — a hydroxyethyl-methyl-cellulose showed a sharply higher plastic viscosity at 40 °C than at 20 °C, with the effective dose rising to match (Ling et al., 2025). A stand-up body balanced for a temperate morning is not the same body at midday on a hot façade.
Verification of tile adhesive application is simple in principle and almost never done in practice. The core checks are few and cheap: confirm the substrate moisture is within range, match the adhesive class to the tile and exposure, use the correctly sized notched trowel, confirm the open time has not lapsed before the tile goes down, and — the decisive one — lift a freshly placed tile every so often and read the coverage on its back.
That last check is where field reality bites. On most sites, and especially on piecework where installers are paid by the square metre, tiles are never lifted to verify coverage. Crews trust their own method, and professional pride tends to outweigh the discipline of stopping to check. The result is that the single most informative test — the one that would catch a bad bed before the whole floor is down — is the one skipped first. A short, deliberate lift-and-look, done a handful of times across a job, is the cheapest insurance in tiling.
The full protocol is a 15-point routine covering substrate, product, technique and cure. Download the complete 15-point tile installation checklist (free PDF, 3 pages) — a printable site sheet that turns these principles into a walk-the-job routine.
The four chemical clocks are the concepts the market confuses most, and the confusion is specific: pot life gets mixed up with setting time, and open time gets mixed up with adjustment time. They measure different things at different moments, and picking the wrong one to worry about is how good adhesive ends up under failed tiles.
Of the four, open time is the one that punishes a hot climate hardest. Comb out a large area of adhesive on a wall or floor at 35 °C in direct sun, then step away for a few minutes, and the exposed ribs skin over and dry out. Place the tile onto that dead surface and it never truly bonds — the bed has already given its water to the air. The failure is invisible on the day and total within months: the tiles come loose across the whole area at once. On a hot day the discipline is brutal and simple — comb only what you can tile immediately, and never bank open bed.
Each of these four clocks deserves its own breakdown, and it is coming. Full breakdown in Ed #16 — Open time, setting time, pot life, adjustment time, published 30 July 2026.


Related pillars: Tile Adhesive Technology covers the datasheet-level decoding — what to specify before the applicator arrives on site. And Waterproofing Systems covers the interface problem in a different but related context — the membrane behind the tile.
Large format tile adhesive: S1 or S2? What changes above 60×60, and the size rules India's IS 15477 and Spain's UNE 138002 write that EN 12004 never did.
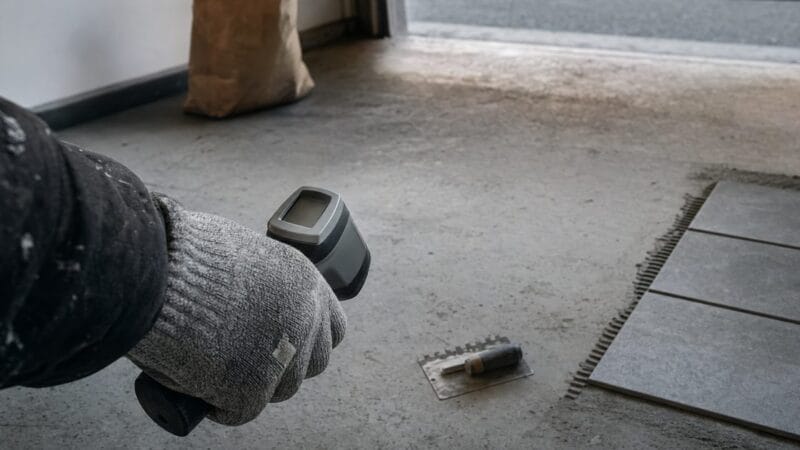
Tile adhesive drying time is not on the bag. How humidity and temperature slow hydration, when to grout, and why 23 °C on the datasheet is not your site.
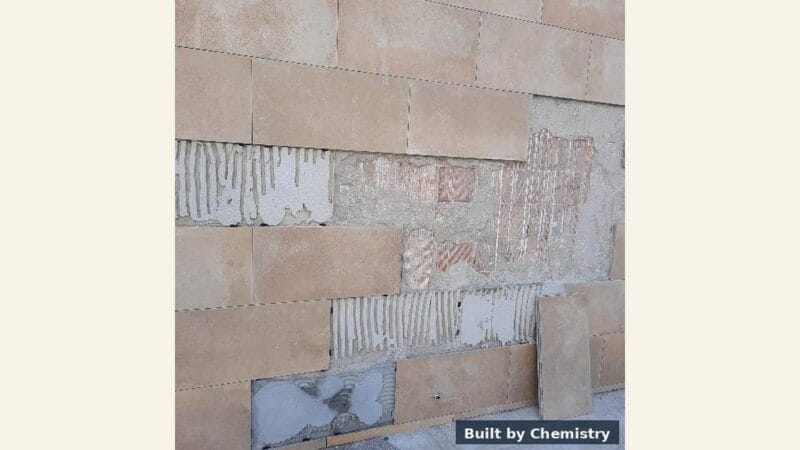
A tile-adhesive failure is almost never the bag. Lift a bonded tile, read its back, and the wall shows who lost it: coverage, open time or water.
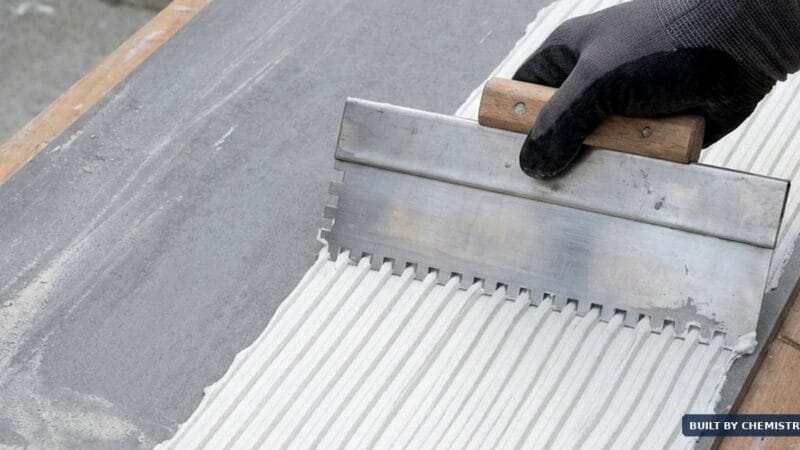
Open time, setting time, pot life, adjustment time - four clocks tile-adhesive markets run as one. Where the 30-minute number quietly breaks.
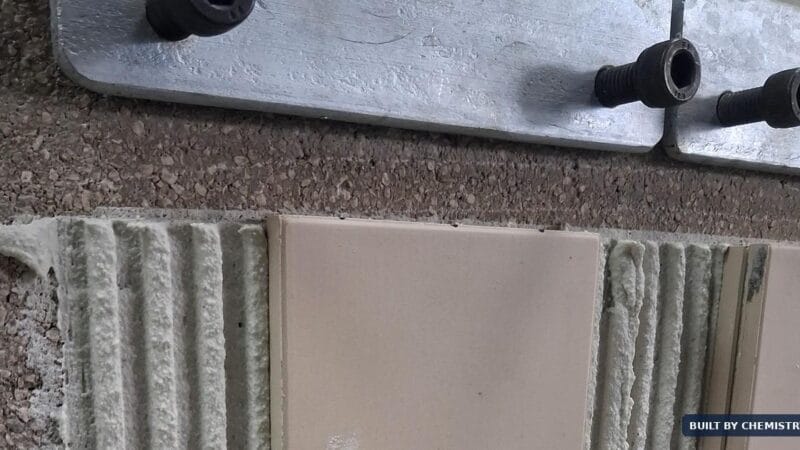
Thixotropy is why a tile holds on a wall and spreads under the trowel. The rheology, the yield stress that carries the tile, and why datasheets lie at 35 °C.
When single buttering stops working: the tile-size threshold for double buttering, and why most tender specs miss it.
We use cookies to understand how readers use BBC and improve the newsletter. Read our Cookie policy.
Have a paper or a site failure the industry should know about?
We publish contributions from R&D chemists, field engineers and academics. Full byline, no brand ties.
Contribute →